SUPER QUICK & EASY FALL FARMHOUSE SIGN FOR CRICUT BEGINNERS
LEARN HOW TO MAKE A QUICK AND EASY VINYL FARMHOUSE SIGN WITH YOUR CRICUT
(Note: The links in this post may be affiliate links. You can read our disclosure policy here.)
I found the best way to fall in love with my Cricut machine was to make a few simple crafts that could be completed in just a couple of minutes. This gave me the encouragement to move forward and try some more advanced projects.
Today’s project is a great beginner farmhouse sign you can make for your home in a matter of minutes!
 YOU’LL NEED THE FOLLOWING SUPPLIES FOR THIS PROJECT
- Photo frame
- Piece of vinyl (I used removable vinyl from Cricut, but any will do)
- Piece of cardstock
- Weeding tool
- Brayer (or a credit card will do)
- Piece of transfer tape
- Cricut Explore or Cricut Maker
- Cricut green standard cutting mat
USE CRICUT DESIGN SPACE TO CREATE A VINYL DECAL
Once you’re in Cricut Design Space select a new project.
Click on images – and type “FALL” in the search bar.
Scroll through until you find a simple design you like.
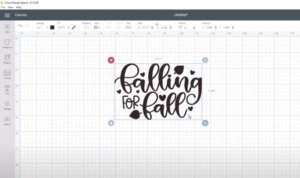
Click on the design and you’ll see it’s added to the taskbar at the bottom of your screen and you can now click “INSERT IMAGES” and the design will be placed on your project board.
Click on your image and drag the arrow button in the lower right corner to size your image to fit in your picture frame.
CUT YOUR VINYL DECAL
In the upper right-hand corner of Cricut Design Space, you’ll see the green “MAKE IT” button. Click it!
The program will take you to the mat selection screen.
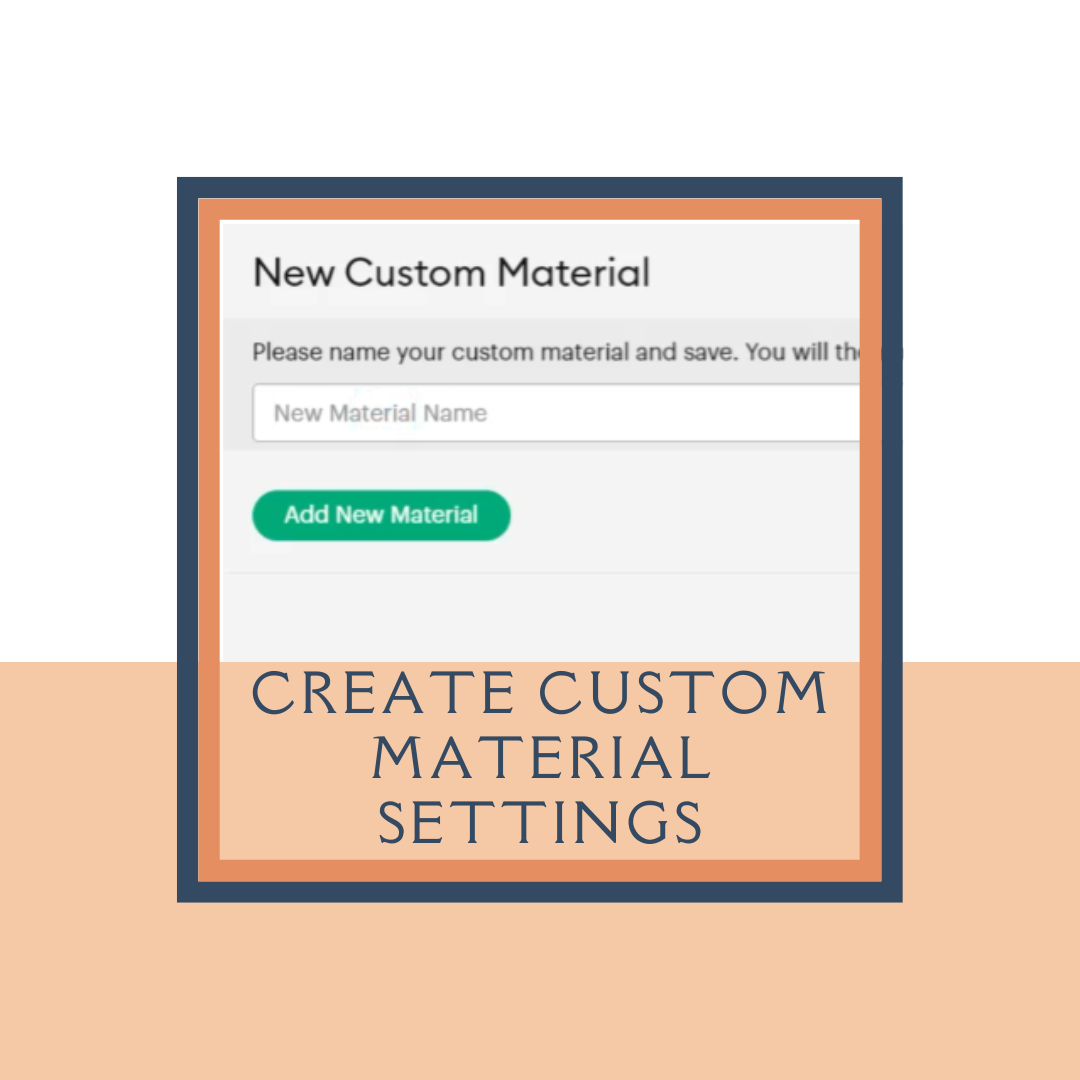
QUICK TIP – I always have my material selector dial on my Cricut set to CUSTOM. This way the program will prompt me to select the type of material I’m cutting and I don’t waste material or blades by forgetting to change the dial!
Take a look at the layout of the project and matt on the screen and make sure it looks the way you want it on your finished project.
Click CONTINUE in the lower right-hand corner.
At this point you can either move the material selector dial on your machine to VINYL or, if you use my little trick, you will be prompted in Design Space to scroll through and select the material you’re using.
Place your vinyl FACE UP on your cutting mat.
The arrow button should be flashing on your machine indicating you are ready to load your mat.
Once your mat is loaded you can now press the flashing C letting the machine know to begin cutting.
Once it’s finished cutting you can press the arrow button again to release your mat.
WEEDING YOUR VINYL DECAL
Grab your weeding tool and begin removing all the vinyl that you don’t want on your finished project.
If you have problems seeing the cut lines in your design you can hold the project up to the light or use the Cricut Lightbox.
APPLY TRANSFER TAPE TO YOUR VINYL DECAL
Grab a piece of transfer tape, large enough to cover your entire decal.
Remove the backing from the transfer tape and lay it, sticky side down, on your decal. Use your credit card or brayer to smooth out any bubbles.
Slowly peel the transfer tape off the vinyl backing leaving you with your decal adhered to your transfer tape.
APPLY THE VINY DECAL TO YOUR CARDSTOCK
Center your decal on your cardstock and using a firm pressure rub the decal with your credit card or brayer to smooth out any bubbles.
Slowly peel off the transfer tape and you now have your decal ready to frame!
PLACE YOUR CARDSTOCK WITH YOUR DESIGN INSIDE YOUR FRAME AND PROUDLY DISPLAY!

