CRICUT GIFT BAG POP-UP CARD
CRICUT GIFT BAG POP-UP CARD / GIFT CARD HOLDER
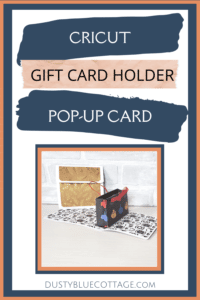
IN THIS TUTORIAL WE’RE MAKING A GIFT CARD HOLDER / GIFT BAG POP-UP CARD
Giving gift cards at the holidays can seem impersonal but when you present it in a Cricut Gift Bag Pop-Up Card it takes the gift to a whole new level!
In this tutorial, I’m making this pop-up gift card holder with my Cricut Maker and I think you’re going to love this project!
GIFT CARDS CAN SEEM LIKE AN IMPERSONAL GIFT – GIVE THEM OUT IN STYLE THIS YEAR WITH THIS POP-UP GIFT CARD HOLDER
IF YOU PREFER VIDEO YOU CAN WATCH THE TUTORIAL HERE —
MATERIALS & SUPPLIES FOR THIS CRICUT GIFT BAG POP-UP CARD PROJECT
SUPPLIES USED IN THIS VIDEO:
• FREE Gift Bag Pop-Up Card SVG: https://dustybluecottage.com/free-resource-library/
• Cardstock: https://shareasale.com/r.cfm?b=33086&u=1886482&m=7429&urllink=&afftrack=
• Cricut Pens: https://cricut.pxf.io/e4LWAj
• Tiny, Strong Magnets: https://amzn.to/3Up3uvK
INSTRUCTIONS
STEP 1 – DOWNLOAD THE SVG
You can find this free SVG in my resource library here>>> FREE SVG RESOURCE LIBRARY
Upload the SVG into Design Space. If you’re not sure how to do that, you can follow my tutorial HERE >> DOWNLOAD SVG FILES AND UPLOAD THEM INTO CRICUT DESIGN SPACE
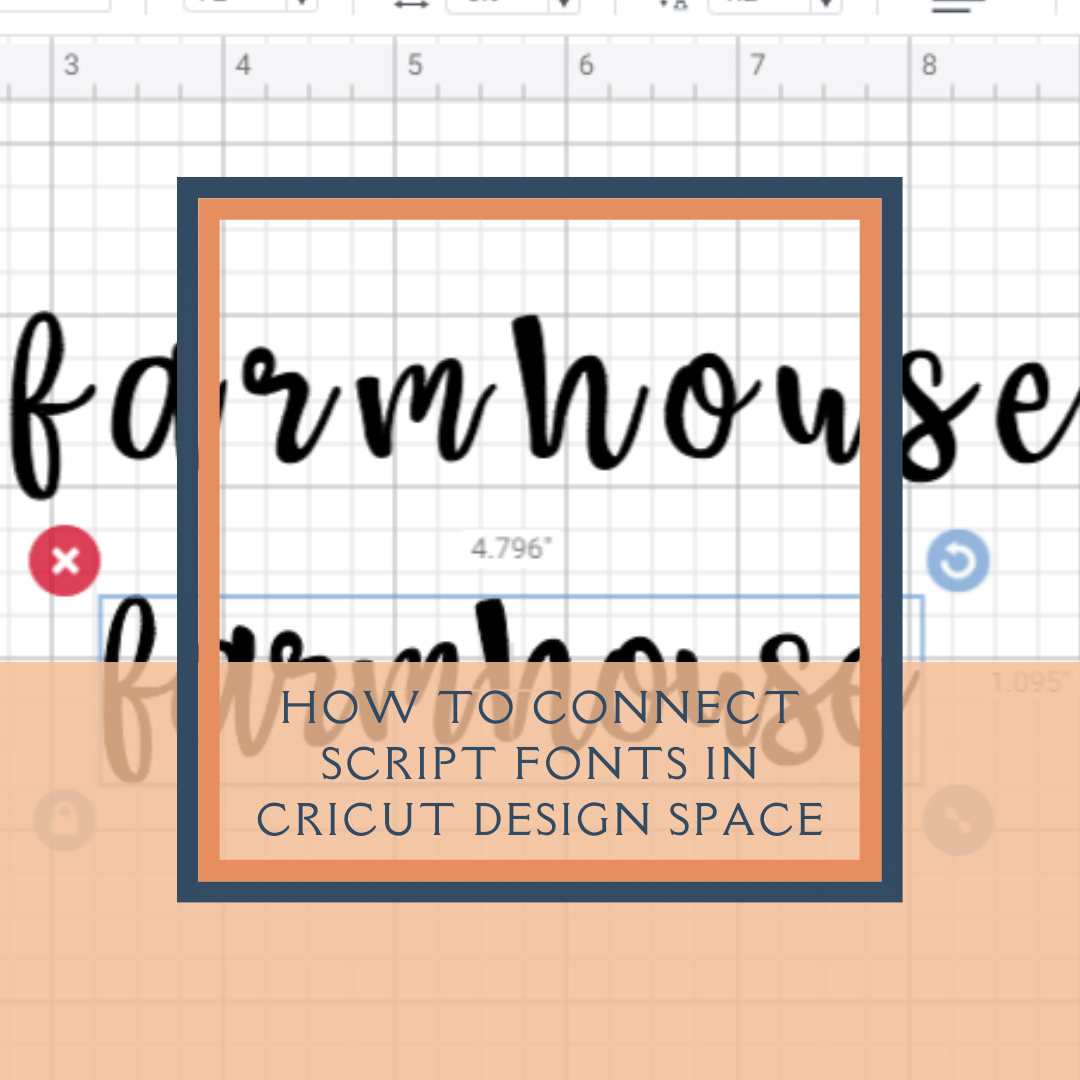
STEP 2 – ADJUST SCORE LINES ON THE PROJECT
When you upload the SVG into Design Space the score lines come through as cut lines. Currently, there isn’t a way around this with Design Space.
In order to change the lines from cut lines to score lines, you’ll need to make a few changes.
Start by highlighting the pink layer of the design, and in the right side column click on the eye to hide that layer. Then click on the grouping of cut lines and in the top toolbar change it from a cut line to a score line.
Then, go back to the right side column and click the eye again to unhide the pink layer.
Highlight both the pink layer and score lines together and click attach.
Repeat that process for the yellow layer as well.
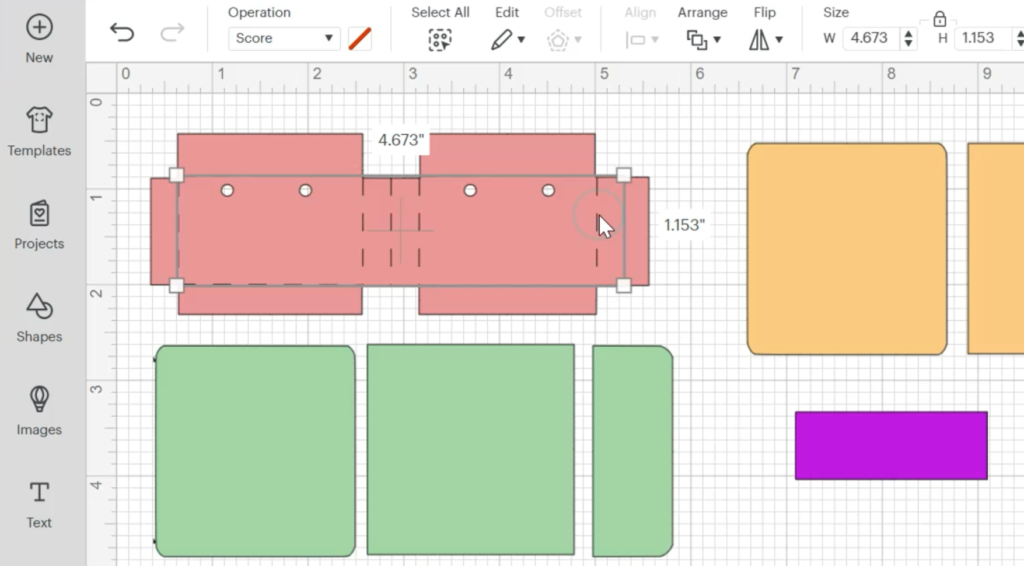
STEP 3 – POSITION OF EACH LAYER IN THE PROJECT
Now we’ll run through what each layer is on this project.
The yellow layer is the foundation piece of the card. I tend to keep this a solid color that way you can add patterns and the card doesn’t look so busy. But you do you! If you like a lot of patterns, you can make this a pattern as well.
Pink is the layer that will become the little gift bag in the center of the card. The main attraction!
The orange layer is the outside pattern on the card and the green is the inside pattern.
Finally, the small purple rectangle is your sentiment piece!
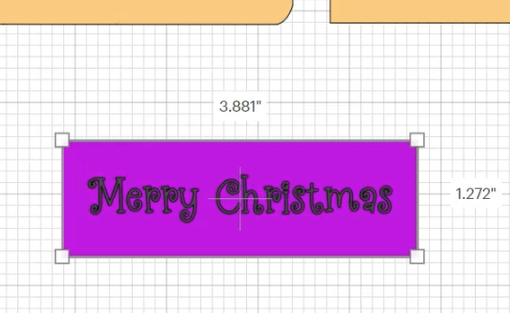
STEP 4 – DECORATE YOUR SENTIMENT PIECE
Next, you’ll need to add your sentiment to the purple layer. You can get as creative as you want!
You could add more layers or change the shape!
STEP 5 – CUT THE LAYERS
Your Cricut will walk you through which layer to cut and when to place your scoring tool and pen into the machine.
I’m sure you’re already familiar with how to do that!
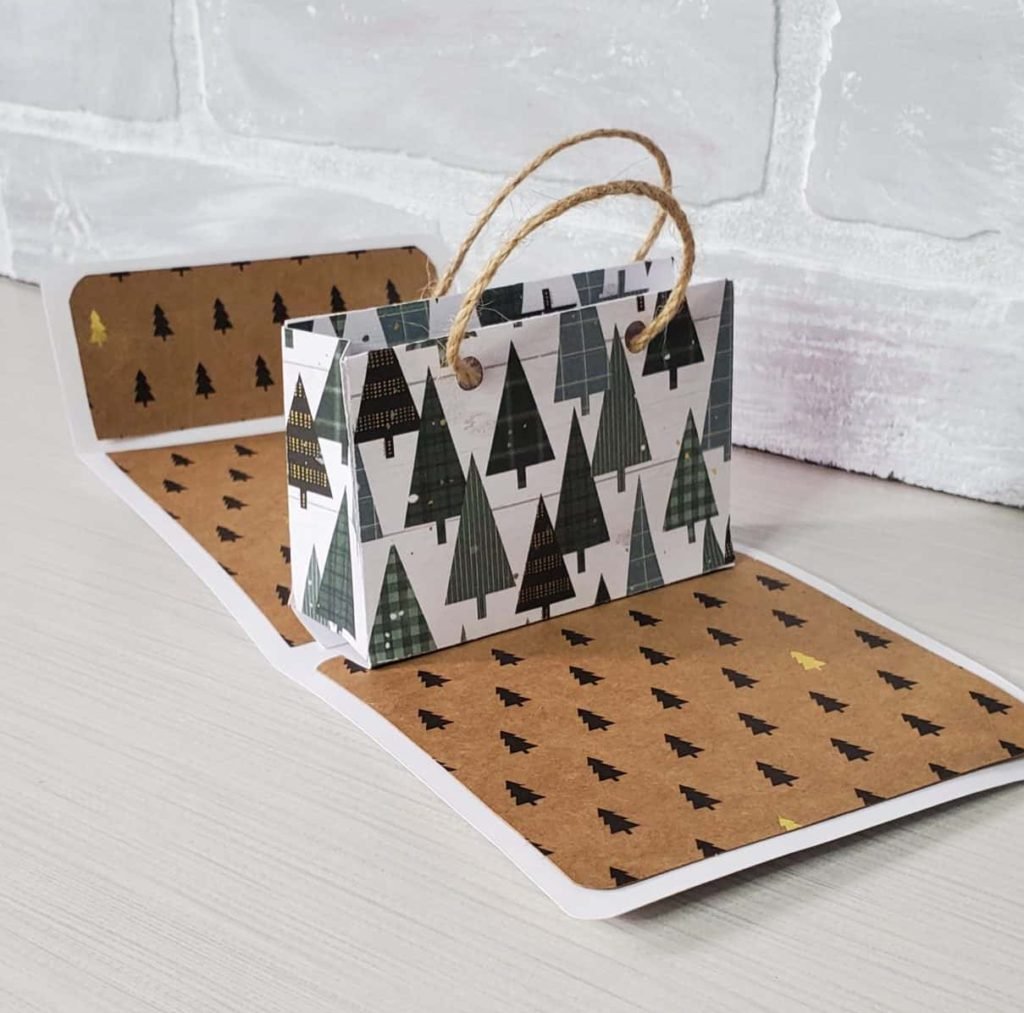
STEP 6 – ASSEMBLY
Take each layer and fold them at the score lines.
Adhere the outside and inside patterns to your base layer – set aside the inside small top piece and the outside larger rounder piece. These will be used later when we add the magnets.
For the gift bag, you’ll add your ribbon for the handles. Place some double-sided tape or glue along the outside edge of the card and fold it over to adhere to the other side.
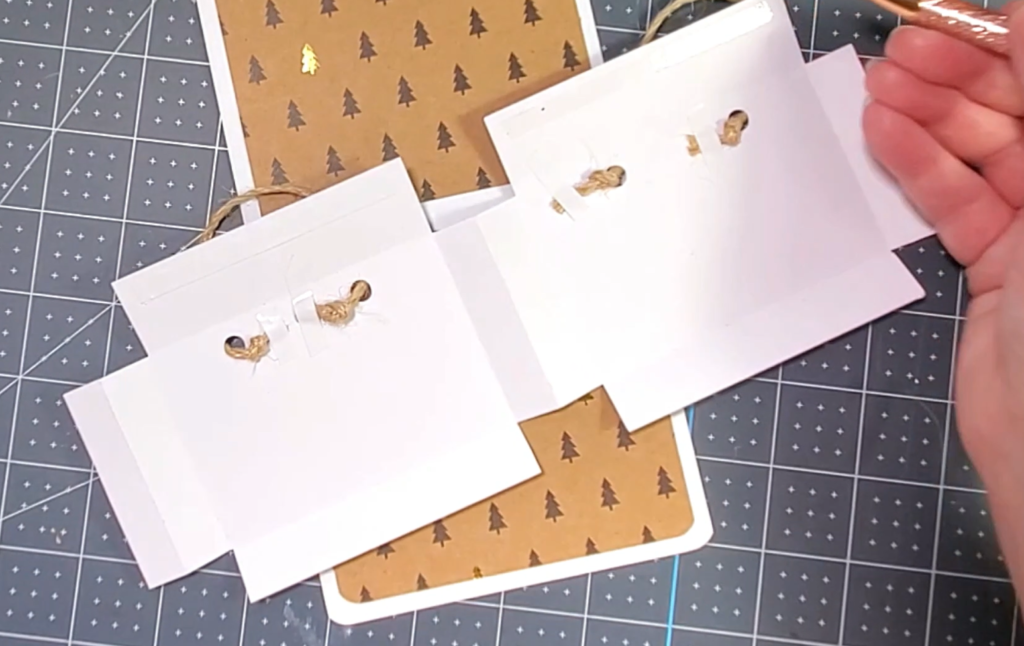
Run a line of adhesive to the bottom two folds of the gift bag, center it in the middle fold of the card, then close the card to secure the bag in place.
STEP 7 – ADD MAGNETS
Place a line of adhesive on the inside of the top flap and secure a magnet to the adhesive. Connect the second magnet to the first one and place a bit of adhesive on the back of that one.
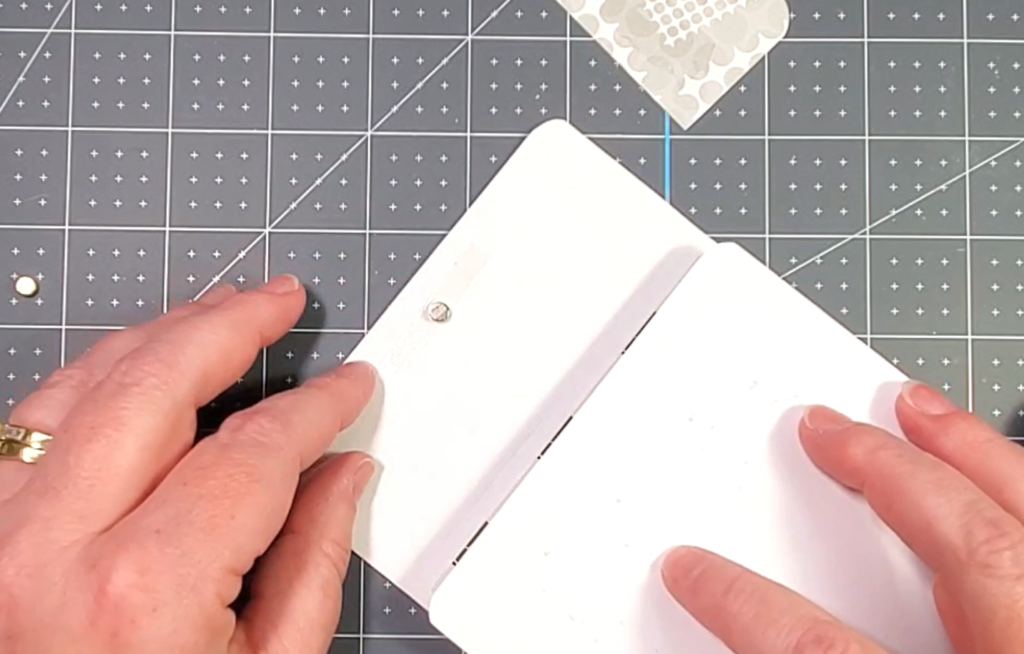
Now close the card and press firmly by the magnets.
As you open the card the magnets may still be stuck together but you’ll be able to separate them and position them where you can see they left a mark on the adhesive and paper.
Layer the remaining two pieces of cardstock on top of the magnets.
STEP 8 – ADD SOME FILLER IN THE BAG AND THE GIFT CARD AND MAKE SOMEONE FEEL EXTRA SPECIAL!
MACHINES IN MY CRAFT ROOM:
• Cricut Maker: https://cricut.pxf.io/e4LWAj
• Cricut Explore Air 2: https://cricut.pxf.io/RyM9Og
• XTool D1 Pro: https://www.xtool.com/?ref=rPIpCYYlOvmI7G&utm_source=influencer
• Cricut Easy Press: https://cricut.pxf.io/jW9LO0• Cricut Easy Press Mini: https://cricut.pxf.io/ZdMAyk
Follow me on Instagram for daily crafting inspiration and a look behind the scenes.