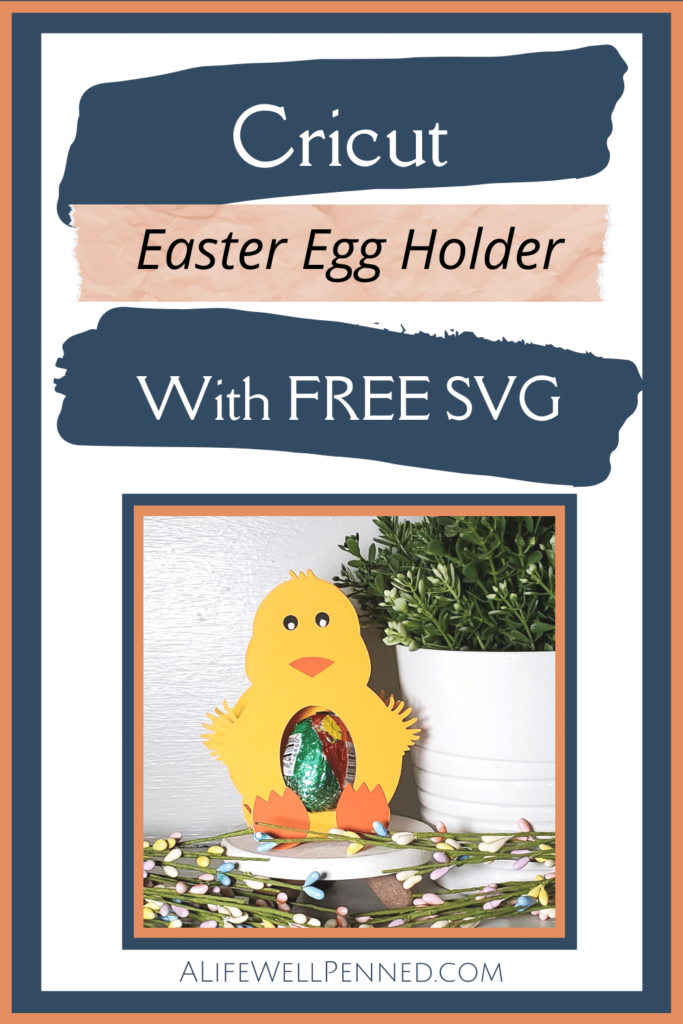
CRICUT EASTER EGG HOLDER
(Note: Some of the links provided are affiliate links. This means, at no additional cost to you, I will earn a commission if you click through and make a purchase. You can read our disclosure policy here.)
Learn How to Make a Cricut Easter Egg Holder With This Step by Step Cricut Tutorial With Free SVG File
We have had clear skies and bright sun all day and I’m in the mood for a Cricut Easter project and this Cricut Egg Holder is just the ticket!
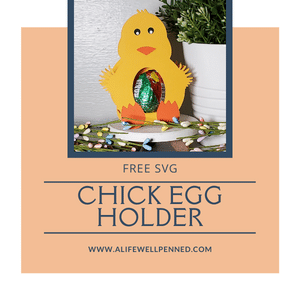
I’m super excited to share this quick Cricut Egg Holder papercraft tutorial with you along with this adorable FREE Chick Easter Egg Holder SVG that is so simple, it’s perfect for the Cricut beginner!

This Cricut Easter Egg Holder would be a perfect little teacher gift, Easter basket goodie, Sunday School class treat, gift for a neighbor, or simply add a touch of whimsy to your table vignettes!
Cricut Easter Egg Holder
For this project you will need:
- My FREE Chick Easter Egg Holder SVG
- Cricut Cutting Machine
- Light Grip or Standard Grip Cutting Mat – I prefer a light grip for paper projects
- Fine Point Blade
- Scoring Stylus or Scoring Wheel
- 4 pieces of cardstock – in this project I used a 12 x 12 sheet of yellow for the body along with small pieces of orange for the beak and feet, black for the eyes, and white for the pupils of the eyes
- Glue – I recommend either Art Glitter Glue or 3-N-1 Glue or Tacky Glue
- Cream Egg (That’s the best part!)
How To Make The Cricut Easter Egg Holder
Download the Chick Easter Egg Holder SVG FREE and upload it into Cricut Design Space. If you’re not sure how to upload an SVG into Cricut Design Space you can follow the easy instructions in the tutorial I created for you!
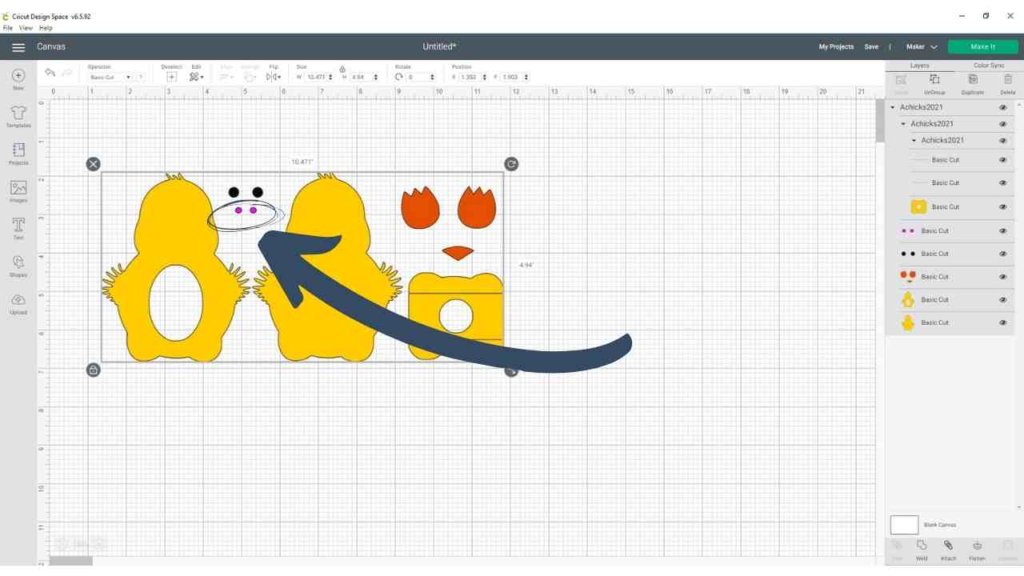
Once the SVG is on your Design Space Canvas you’ll notice that the pupils of the eyes are colored hot pink, as shown below. This is simply to make it easier for you to see on your canvas. Of course, you can use any color or patterned cardstock to make your chick fit the style or colors you need!
SIZE THE DESIGN
To get the image to fit a Cream Egg we have to make it a little bigger. Simply go to your top toolbar and change the height to 5 inches.
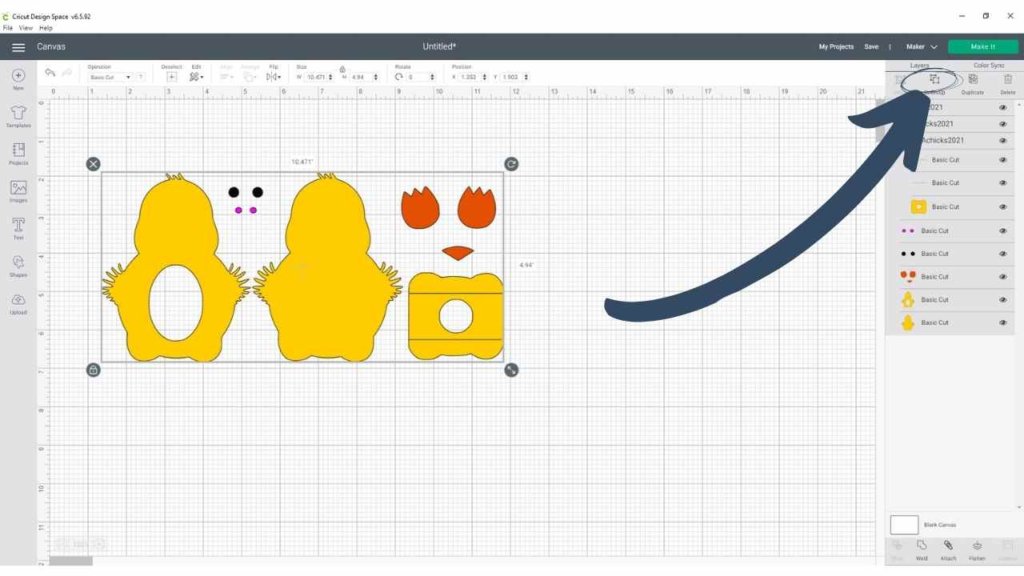
UNGROUP THE PROJECT
Next, you’ll need to click the button at the top of your right toolbar to ungroup the project.
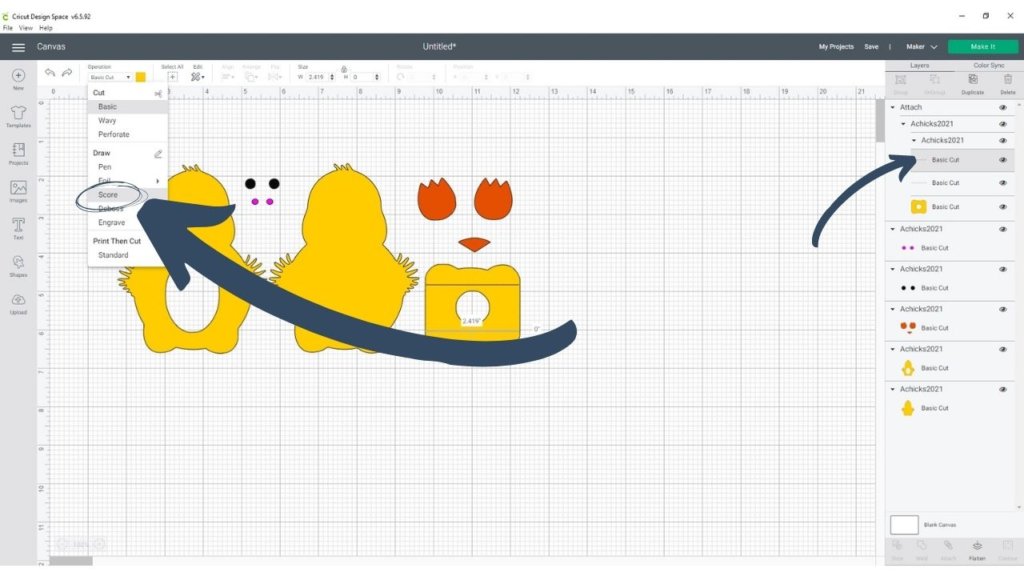
ATTACH THE SCORE LINES
Now you need to attach the score lines to the base of the chick. The score lines are already lined up on the base where you need them to be. However, they are showing up as basic cut lines. You need to click on the base and again hit “Ungroup” in your right layers toolbar. Then click on “basic cut” line in the right toolbar which will allow you to change it from a cut line to a scoreline. You do this by changing it in the operation menu drop-down as shown below. Be sure to change both lines to score!
Highlight the base and score lines together, and then in the bottom right corner click “attach.”
Now you’re ready to cut!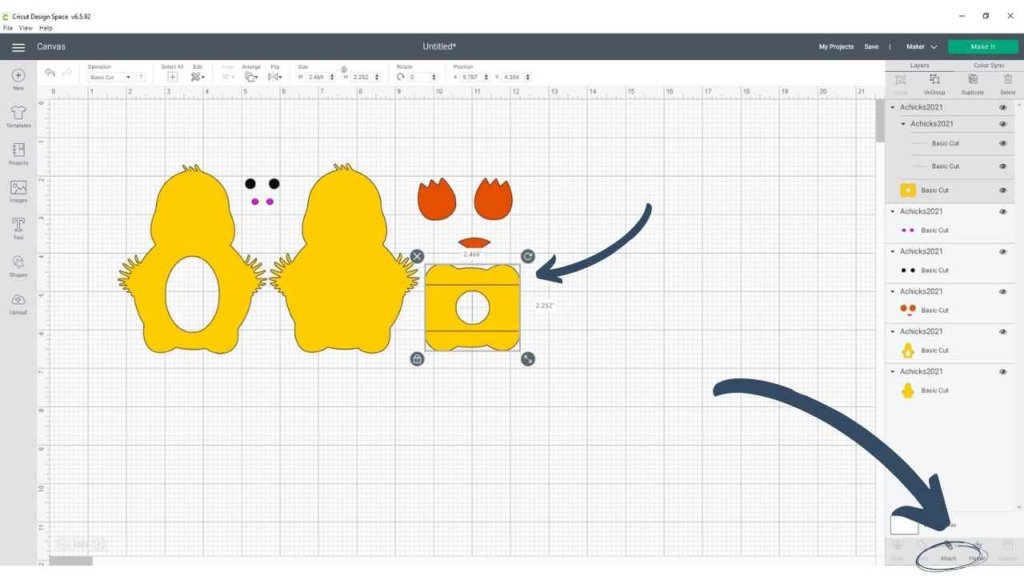
CLICK “MAKE IT” and CUT OUT YOUR CARDSTOCK
You will see the four mats. We have black for the eyes, orange for the feet and beak, yellow for the body and base, and hot pink which I’ll be using for the white pupils of the eyes.
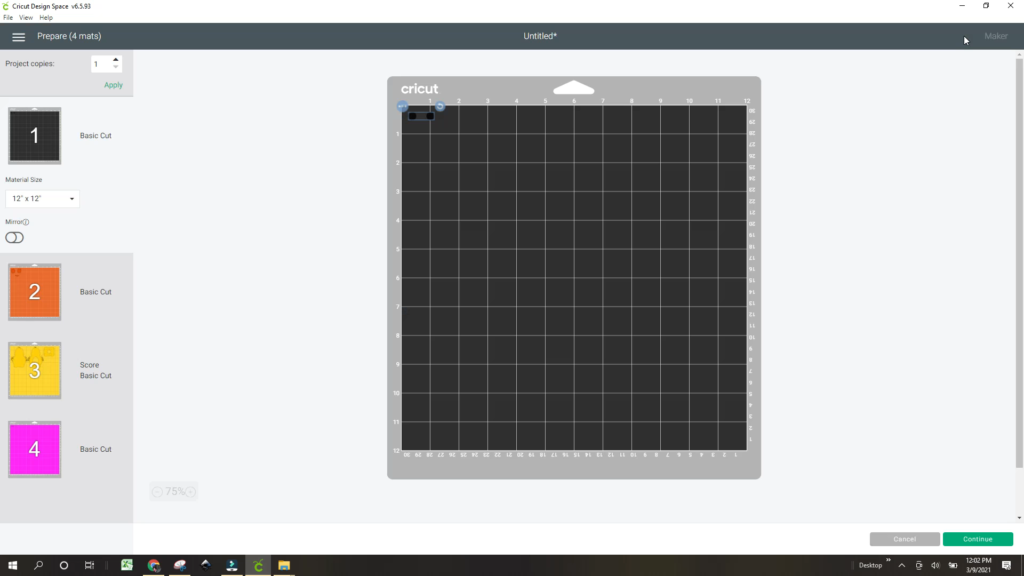
I prefer to use the light grip cutting mat when working with cardstock.
Be sure you have your fine point blade in Clamp B and your scoring stylus or scoring wheel in Clamp A. You should have your machine set on the cardstock setting for the weight of the cardstock you are using.
Then go ahead and click “Continue.”
Follow the prompts in Design Space to cut each color of cardstock.
NOW WE’LL ASSEMBLE OUR PROJECT
Take your base piece and fold on the score lines. Run a small bead of glue on the folded pieces and glue it to the bottom of the chick’s body.
Add a small drop of glue near the top of the head on the body of the chick and glue the top of the heads together near the feathers.
Using some glue, go ahead and attack the feet, beak, eyes, and pupils.
I hope you have fun making this little guy! I sure had fun creating him!