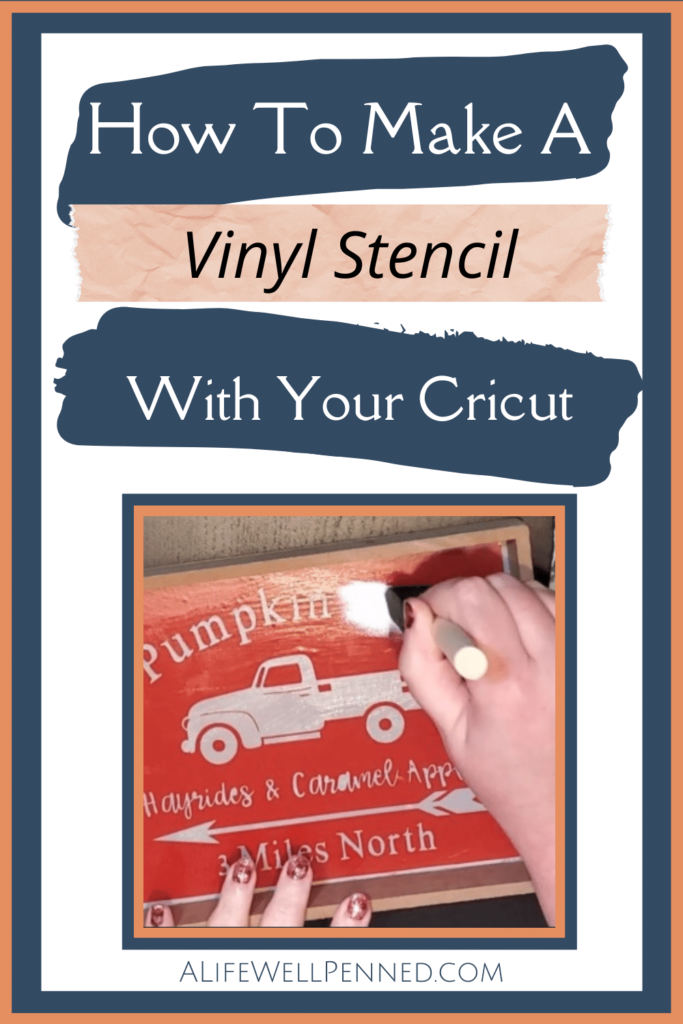
HOW TO MAKE A PAINTED WOOD SIGN USING A VINYL STENCIL MADE WITH CRICUT
HOW TO MAKE A PAINTED WOOD SIGN USING A VINYL STENCIL MADE WITH CRICUT DESIGN SPACE
(Note: The links in this post may be affiliate links. You can read our disclosure policy here.)
Taking a sign you already have on hand and turning it into a reversible piece you can use for two purposes will help you keep your clutter and décor storage to a minimum.

I had picked up this farmer’s market sign from the Target dollar spot a year or two ago and have always put it away each September when I pull out my fall décor. This year I decided to paint a design on the back of the sign so I can use it throughout the fall season.
 MATERIALS YOU’LL NEED TO MAKE A VINYL STENCIL
- Wood sign to be stenciled
- Vinyl for the stencil – I used Cricut Removable Vinyl. You can also use regular vinyl or stencil vinyl
- Transfer tape
- Cricut Explore or Cricut Maker
- Weeding tool
- Green standard cutting mat
- Chalk paints
- Foam brushes
- Mod Podge
MAKING A VINYL STENCIL WITH CRICUT DESIGN SPACE
Step 1 – Select a new project.
Step 2 – Create a template for your project.
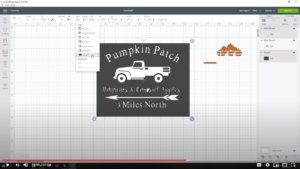
In my case, I’m using a rectangle sign so I clicked on SHAPES and selected a square. Once the square was on my work board I unlocked the dimensions by clicking the lock button and sized the object to the size rectangle I needed.
Because my project is using the space inside the frame, I sized my template to be ¼ inch smaller than the actual sign so that I wouldn’t have any problems fitting the entire stencil in the frame.
Step 3 – Design the vinyl stencil with Cricut Design Space.
Click on IMAGES and, if you’re a Cricut Access member, you’ll have a library of over 100,000 items you can use for your design.
In this example, I entered “truck” in the search bar and scrolled until I found the truck I wanted. Click on the truck and you’ll see it appear in the toolbar at the bottom of the screen. Now you can click INSERT IMAGES and your image will appear on your work board.
Add any text you’d like on your project. I used the fonts RUSTY and BABETTE for this project which are both available to Cricut Access members.
Align your project items to your template.
Step 4 – Move the template away from the back of your design. Highlight the project items including all text and images and click WELD.
Step 5 – Move the template back so that it’s behind your design. Highlight both the template and design and click SLICE.
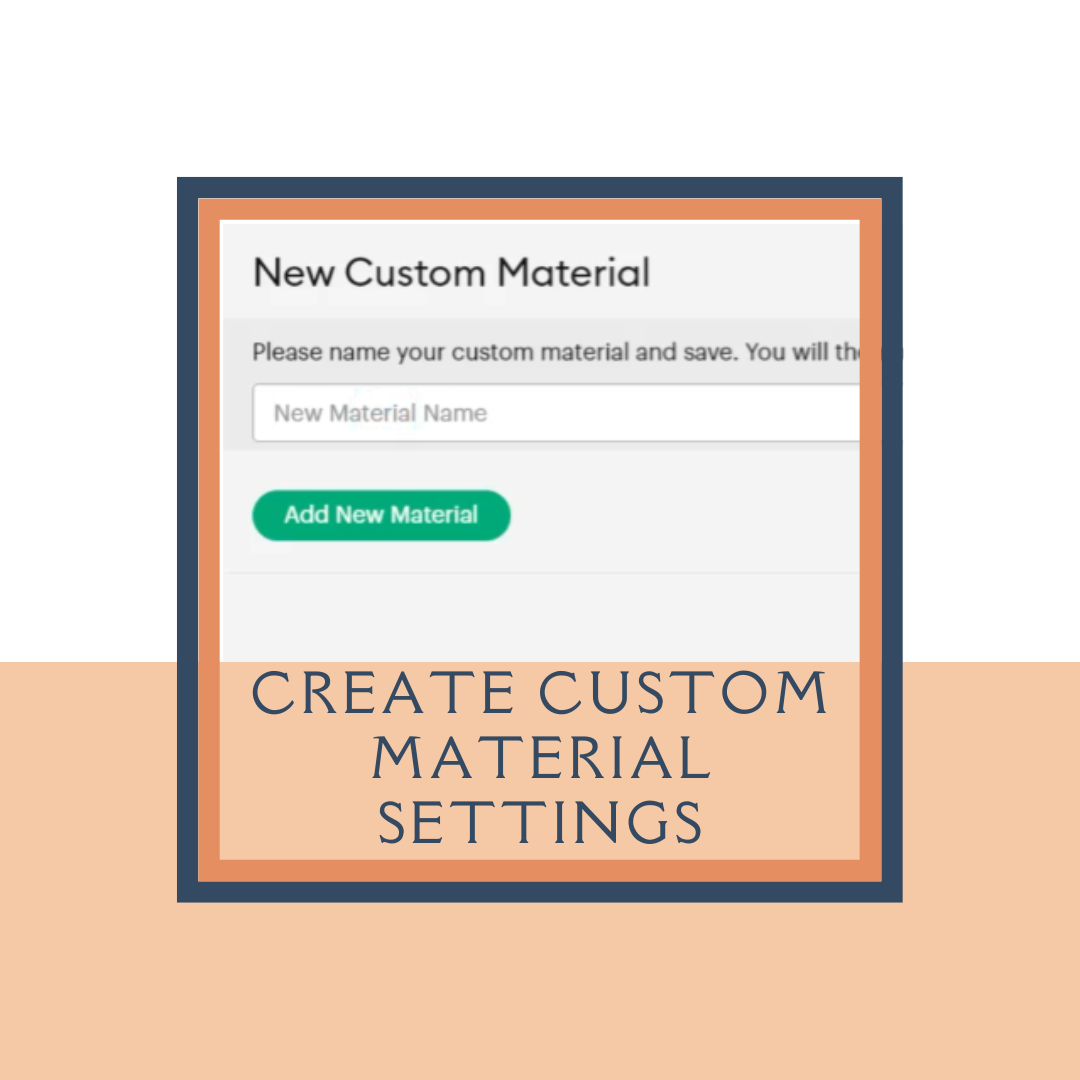
Step 6 – Cut the vinyl stencil made in Cricut Design Space
Click MAKE IT – select the correct material you are using – place the material on your standard green cutting mat – load the mat into your Cricut – Click the green C to begin cutting.
Step 7 – Weed your vinyl stencil.
Step 8 – Apply transfer tape on top of your stencil.
Step 9 – Paint your wood sign with your base coat.
Allow your sign to completely dry after you’ve applied your base coat of paint.
Step 10 – Apply the stencil to your wood sign and paint with a thin coat of Mod Podge.
Allow the Mod Podge to dry completely.

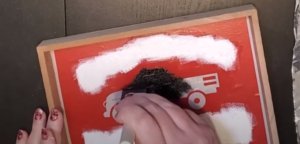
Step 11 – Using a foam brush, apply a light coat (almost dry brushing) to your design.
Add multiple coats if needed, however, you’ll have fewer problems with the paint bleeding under the stencil if you use a few light coats instead of one thicker coat.
STEP 12 – REMOVE YOUR STENCIL AND ENJOY YOUR NEW SIGN!!!