HOW TO MAKE A 3D LAYERED BAT
(Note: Some of the links provided are affiliate links. This means, at no additional cost to you, I will earn a commission if you click through and make a purchase. You can read our disclosure policy here.)
LEARN HOW TO CREATE YOUR OWN 3D LAYERED BAT WITH THIS STEP-BY-STEP CRICUT TUTORIAL AND MY FREE SVG FILE
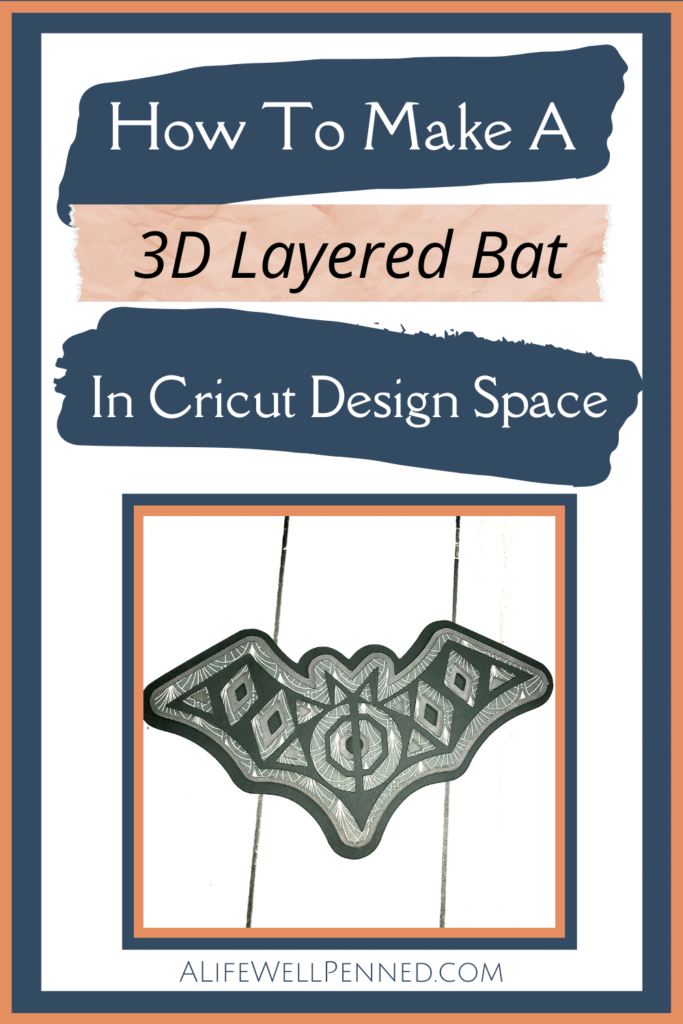
IN THIS TUTORIAL WE’LL BE MAKING A 3D LAYERED BAT MANDALA
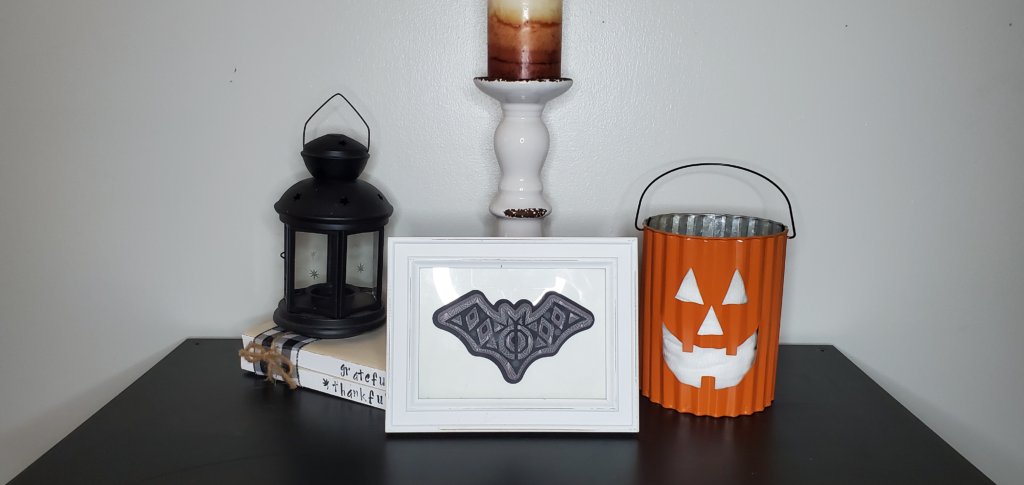
Halloween is coming up soon so I thought it would be the perfect opportunity to make a 3D layered bat to add to our Halloween décor.

THIS 3D LAYERED BAT IS PERFECT FOR THE CRICUT BEGINNER
IF YOU PREFER VIDEO YOU CAN WATCH HOW TO CREATE A 3D LAYERED BAT RIGHT HERE
MATERIALS & SUPPLIES FOR THIS 3D LAYERED BAT
- Cricut cutting machine
- Light Grip Mat
- 4 pieces of cardstock
- Foam adhesive dots
- My FREE 3D Bat SVG File
DOWNLOAD THE FREE FILE HERE

If you’re not sure how to download my free SVG files and upload them into Cricut Design Space you can follow the easy instructions in this tutorial I created for you! CLICK HERE TO WATCH!
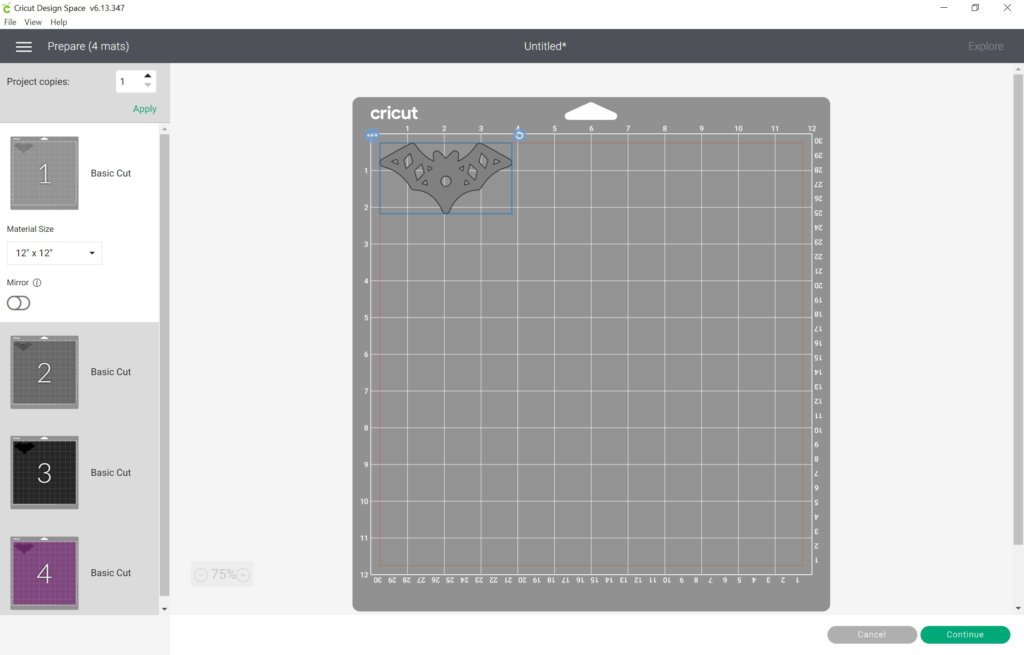
SIZE THE DESIGN
Once you upload the file it should appear on your canvas at approximately 4 inches x 2.25 inches. If you’d like the image bigger you can click on it and pull the arrows out to whatever size you want. I don’t recommend going much smaller as the detailed cuts in the top layer may become too close to cut properly.

UNGROUP THE PROJECT
Next, you’ll need to click the button at the top of your right toolbar to ungroup the project.
CLICK “MAKE IT” and CUT OUT YOUR CARDSTOCK
You will see the four mats. You can choose whatever colors you’d like for your bat. I chose to do my top and bottom layer in black. For the purple layer showing in Design Space, I chose a black/purple watercolor paper. For the fourth paper, I chose a dark gray cardstock with a print.
I prefer to use the light grip cutting mat when working with cardstock.
Be sure you have your fine point blade in Clamp B. You should have your machine set on the cardstock setting for the weight of the cardstock you are using.
Then go ahead and click “Continue.”
Follow the prompts in Design Space to cut each color of cardstock.
NOW WE’LL ASSEMBLE OUR PROJECT
Take your solid base piece and set it down in front of you. Grab the second piece and apply some of the foam adhesive dots to the back. Be sure you keep the adhesive dots away from the cut spaces so that you won’t be able to see them from the front of your project.
Now carefully stick the second layer on top of the base layer, centering it as best as possible.
Continue to apply the adhesive dots to the remaining two layers and add them on top of the bat.
I hope you have fun making this little guy and enjoy adding him to your Halloween decor!
SHARING IS CARING
Please help me by sharing this tutorial on your favorite social media site or pin it on Pinterest! Doing so helps this site to continue to grow so that I can keep providing you with helpful tutorials and free content. Thank you!