
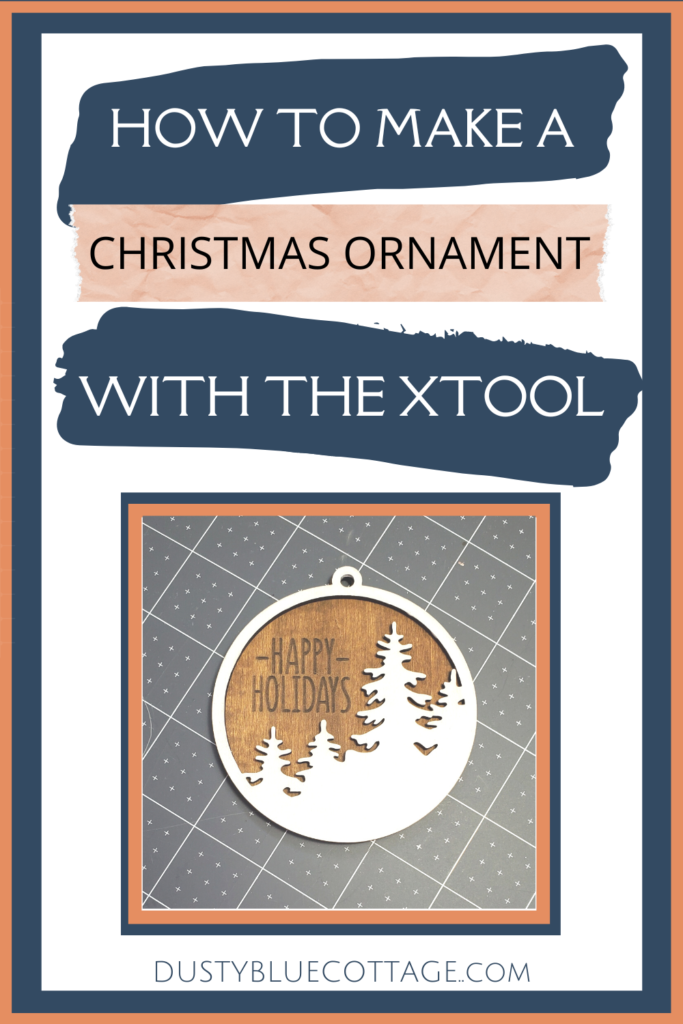
MAKE CHRISTMAS ORNAMENTS WITH THE XTOOL
HOW TO MAKE CHRISTMAS ORNAMENTS WITH THE XTOOL LASER CUTTER
MAKE CHRISTMAS ORNAMENTS WITH XTOOL LASER CUTTER
In this tutorial, I’ll show you how to make Christmas ornaments with the XTool laser cutter.
No Lightburn needed!
We’ll walk through buying a cut file from Design Bundles, loading the file into XTool Creative Space, and ending up with a beautiful laser-cut Christmas Ornament!

INTIMATED BY YOUR LASER CUTTER? THIS SIMPLE PROJECT WILL GIVE YOU THE CONFIDENCE BOOST YOU NEED
IF YOU PREFER VIDEO YOU CAN WATCH THE FULL TUTORIAL HERE
MATERIALS & SUPPLIES FOR THIS XTOOL ORNAMENT PROJECT
- 3mm basswood from Hobby Lobby – great for beginners!
- Cut File From Design Bundles
- XTool laser cutter
- Paint
INSTRUCTIONS
STEP 1 – PICK A CUT FILE FROM THE DESIGN BUNDLES WEBSITE AND DOWNLOAD IT TO YOUR COMPUTER
I love Design Bundles for my cut files! They have such a variety I know you’ll find something you love!
If you’re a beginner, I suggest finding something with two layers to start. That way it’s not too overwhelming!
Also, you want to look for a file that comes in SVG format.

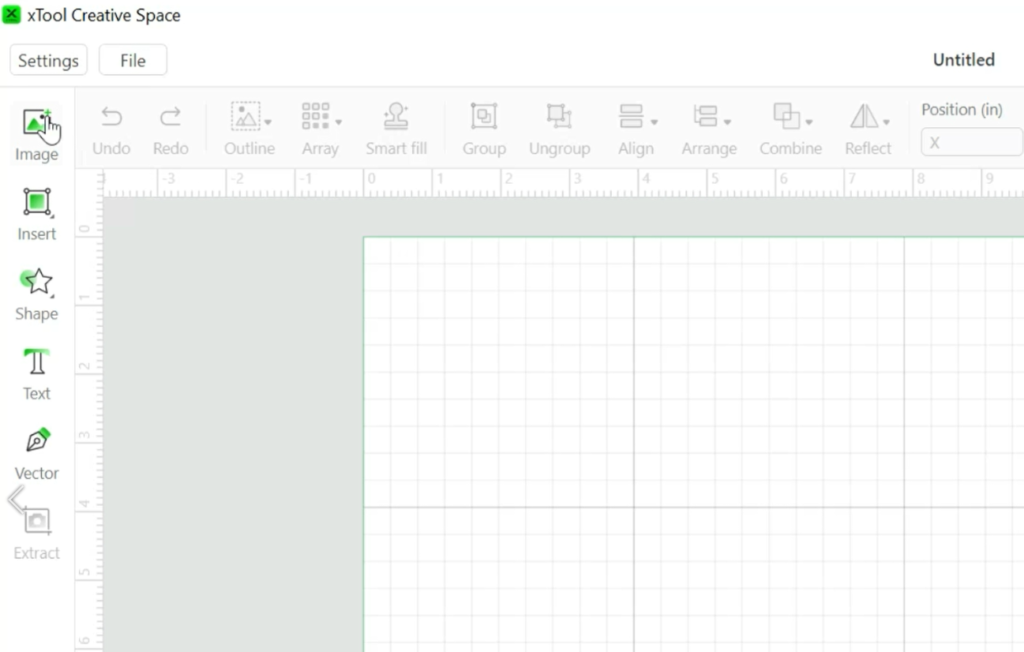
STEP 2 – UPLOAD THE SVG FILE INTO XTOOL CREATIVE SPACE
Open the XTool Creative Space program on your computer.
Then you’ll click in the top left corner on the “Image” button. Then select your SVG file for the ornament and load it into Creative Space.
STEP 3 – TELL CREATIVE SPACE WHAT YOU WANT TO DO WITH EACH SECTION OF THE ORNAMENT
When the file loads it will be in the form of orange lines. These lines will indicate to your XTool what it needs to do – score, engrave, or cut.

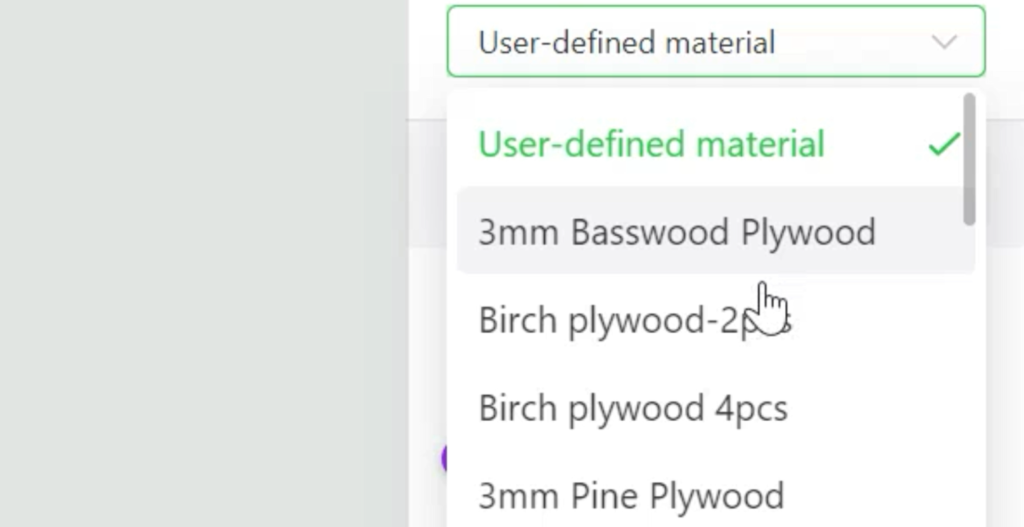
My top layer is strictly a cut layer. So, I will click on that layer, and in the right toolbar, I’ll click on the drop-down menu of materials and select 3 mm basswood.
TIP: I used 3 mm basswood I picked up from Hobby Lobby – it’s a great way to start if you’re a beginner and still learning your machine before you venture into other woods. Also, Creative Space already has an assortment of materials pre-programmed for you and I have found the 3 mm basswood settings work perfectly for the wood from Hobby Lobby.
For my second layer, I want the writing engraved and then the ornament shape cut.
I’ll click on the writing, then back to the right toolbar I’ll select engrave. As with the cut settings, if you’re using 3 mm basswood you can select that from the drop-down menu.
Now you’ll click on the outside shape of the ornament and choose cut and select your materials.
Click “Process” in the lower right corner.
STEP 4 – SET YOUR MATERIAL IN THE LASER CUTTER
I recommend having a honeycomb underneath your laser. This will prevent burning on the bottom of your projects. However, if you haven’t picked one up yet, you can just place your wood on the stainless steel sheet that comes with your XTool to protect your work surface. (Be sure you remove the plastic film on the stainless-steel sheet.)
Place your wood under the laser then adjust the laser module to the appropriate height. You do this by loosening the lever on the left of the module and raising or lowering the height of the module, then tightening the lever to hold it in place.
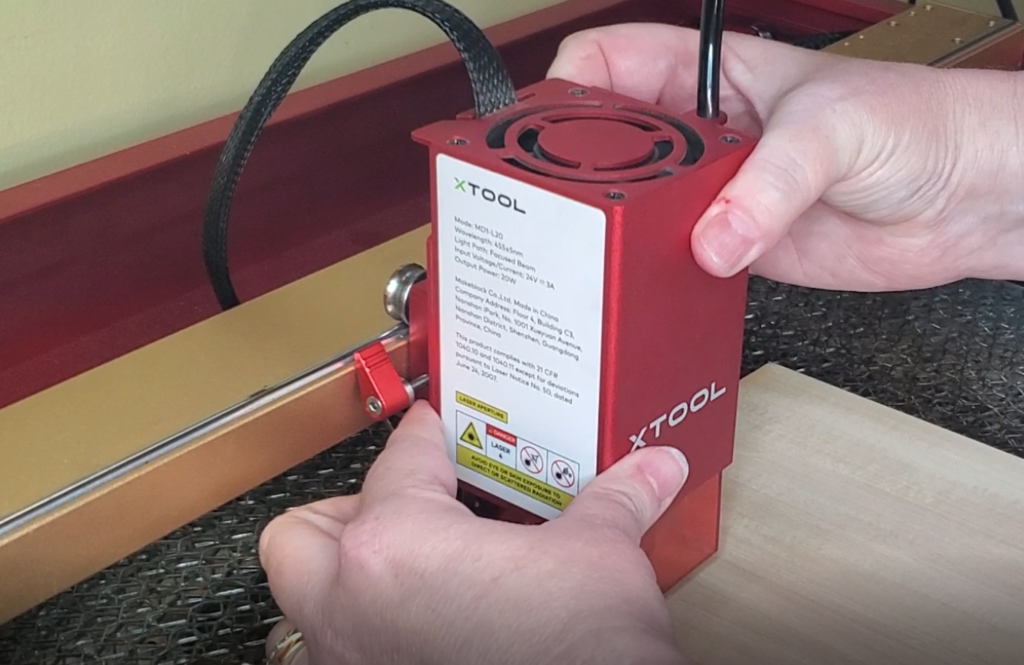
On the right side of the module, there is a metal arm that will swing down. This arm is to gauge the height your module should be set at. The goal is for the metal arm to move freely just above the wood without actually touching the wood.
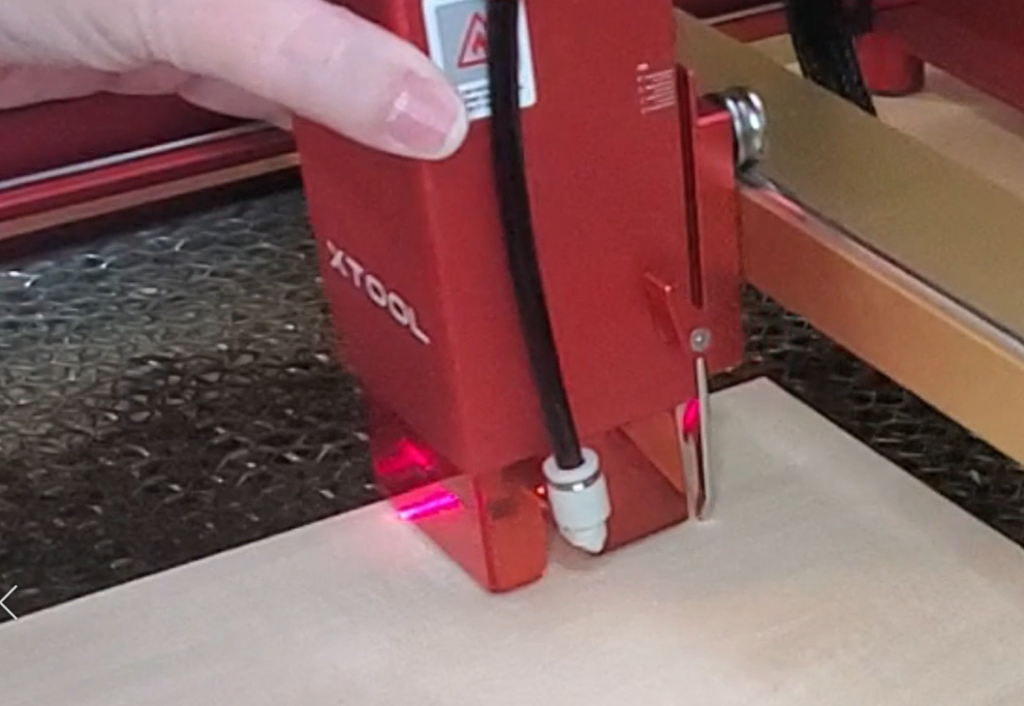
Once the wood is in place, you’ll line up your laser. Your laser has a red cross-hair beam to line your project up on the wood. If you’ll notice on the computer, you have nine different points to you to line up your project. Pick which one works best with your project then click on “Framing.”
Your laser beam will run the exterior square dimensions of the project allowing you to verify that it’s in the correct position. Once everything is lined up correctly, click “finished framing,” then click “start”.
STEP 5 – PLAY IT SAFE!
Your laser module comes with an orange shield to help protect your eyes from the working laser cutting beam. However, you also should wear protective goggles if you look at the project while it’s cutting.
We don’t want to damage our eyes!
Also, if you do look at the project while it’s cutting, be sure to only do so briefly.
Make sure you’re working in a well-ventilated area! If you don’t have an enclosure that can be vented out a window, I would recommend using fans and open windows to ensure you’re not filling your work area with dangerous fumes.
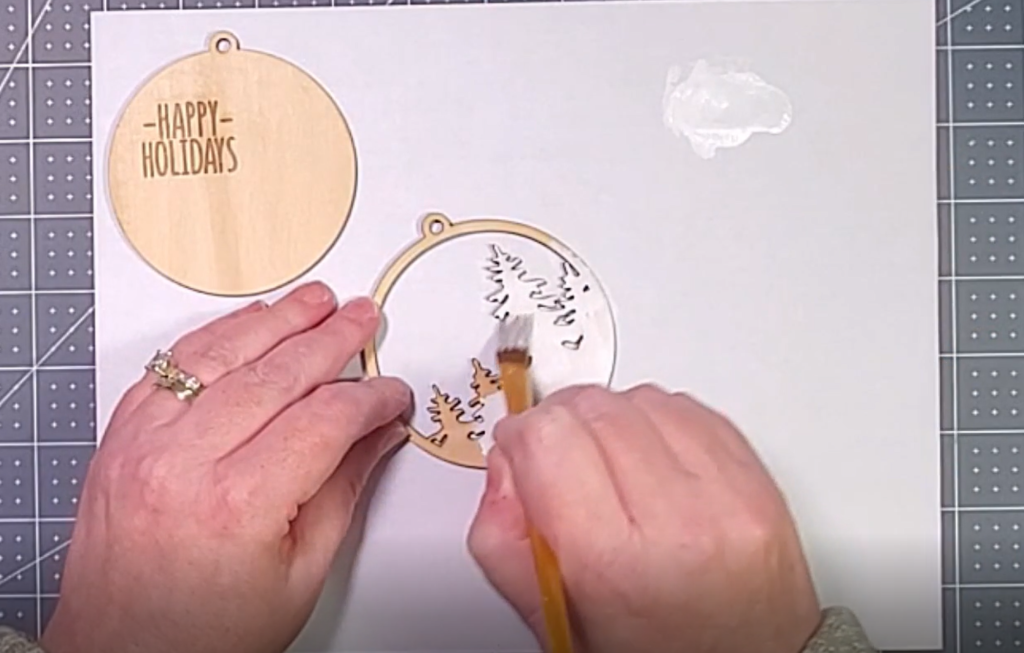
STEP 6 – PAINT FOR FINISHED PIECES
If you want to add some color to your finished pieces you can paint them with acrylic paint or stain them to a shade you like!
I have also painted wood prior to cutting and then masked the wood to limit the amount of char on the sides of the pieces. If you try this method I recommend using high-gloss paint so you can wipe the residue off easily.
SHARING IS CARING
Please help me by sharing this tutorial on your favorite social media site or pin it on Pinterest! Doing so helps this site to continue to grow so that I can keep providing you with helpful tutorials and free content. Thank you!