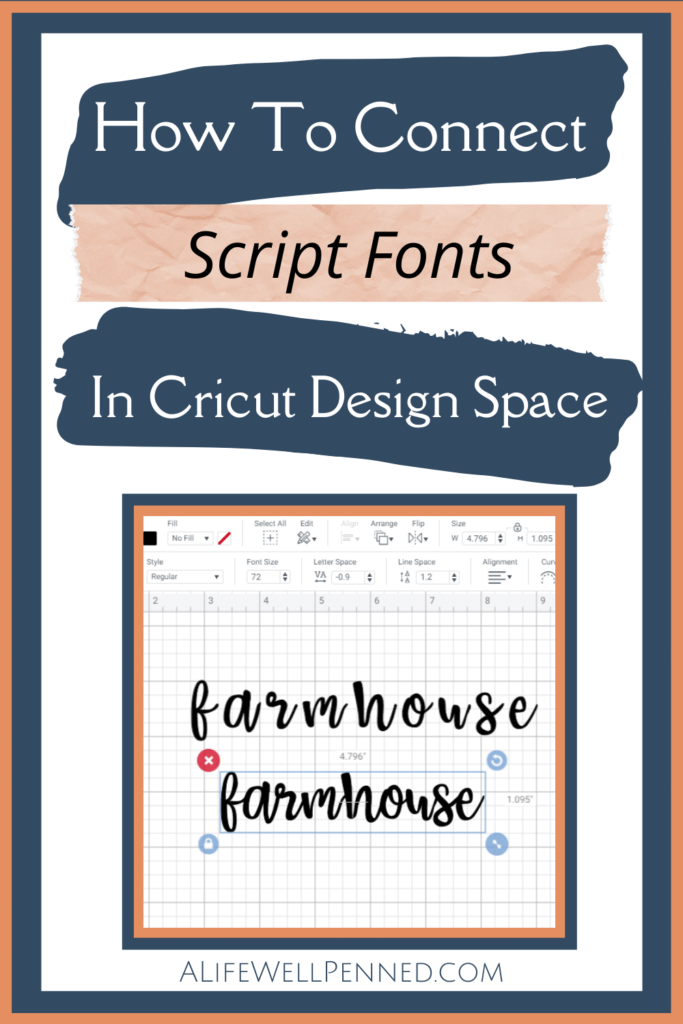
HOW TO CONNECT SCRIPT FONTS IN CRICUT DESIGN SPACE
 Be sure to read to the end for my bonus tip!
When you type out a line of cursive or script text in Cricut Design Space, you’re going to see that there is spacing between the letters and it doesn’t look quite right.
In this tutorial, I’m going to show you how you can connect the script fonts in Cricut Design Space so you have a seamless line of text that will take your projects to the next level!

DECREASE LETTER SPACING IN CRICUT DESIGN SPACE
The first thing you can try to fix this problem is to highlight your line of text and in the top toolbar click on the down arrow for “letter space.”
This will decrease the space between the letters, and in some cases, it will be all you need to do as in this example.
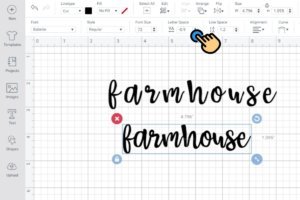
Here I used the font Babette and typed the word farmhouse. After decreasing the letter space the word lined up just perfect and I was ready .to cut the vinyl.
You will find some fonts are a bit trickier to work with and won’t cooperate quite so easily. It that case, you’ll need to do a bit more work
UNGROUP TEXT TO INDIVIDUAL LETTERS
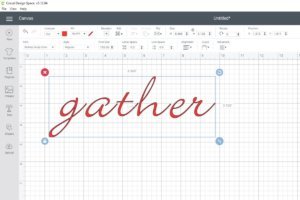
In the example below, you’ll see that when decreasing the letter-spacing the E and R at the end of gather came together quickly, however, the rest of the letters are still disconnected.
If I continued to decrease until the rest of the word is connected, the E and R would be practically on top of each other.
With your text highlighted, click on the word ADVANCED in the toolbar and then choose “Ungroup to Letters.”
Once they’re ungrouped to letters you can grab each one individually and move them anywhere on your project board.
Now you can slide all the letters together until they’re in a more appealing format the way they could be in a handwritten, cursive font.
DOUBLE CHECK THE SPACING
You don’t want to stop here. Now you’ll want to highlight the text once again and click GROUP in the right-hand layer’s column.
Drag the font out larger so that you get a closer look at how the letters connect. If something needs to be tweaked a bit, simply ungroup the text, slide them into position, and regroup.
ONE MORE STEP BEFORE YOU CUT
If you were to click MAKE IT at this point you would end up with each letter individually and randomly spaced on your Cricut mat.
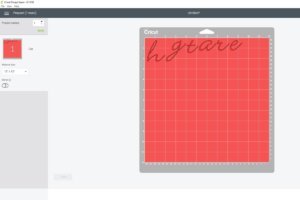
The reason this happens is that the font is still technically separated into different letters even though we’ve corrected the visual space between them.
As you can see in this image below, there is a line separating the letters which shows you where your Cricut blade will cut, leaving each letter as a separate piece of vinyl.
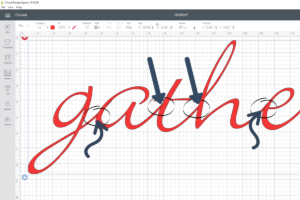
To fix this problem so your word cuts as one solid piece you want to highlight your word and click WELD in the bottom right corner of your screen in the layer’s toolbar.
Once your word is welded together your mat will show the connected word all set to cut!
BONUS TIP!
To help keep your letters lined up horizontally as you’re moving each one around, simply hold down the right mouse button AND the shift key at the same time. This will help keep your letter steady as it slides along the Y (horizontal) axis of your work board!
I hope you found this tutorial helpful and you feel confident you know how to connect script fonts in Cricut design space!
If you prefer video tutorials or photo images be sure to subscribe to my YouTube channel and Instagram!